Items painted so far:
Frame
This has been shot blasted to remove any surface corrosion and general crud and then received a number of coats of zinc based primer to a provide a rust proof barrier for the future. It's then been coated with satin black paint and clear coated to provide knock resistance. (picture doesn't show it painted, just primed)

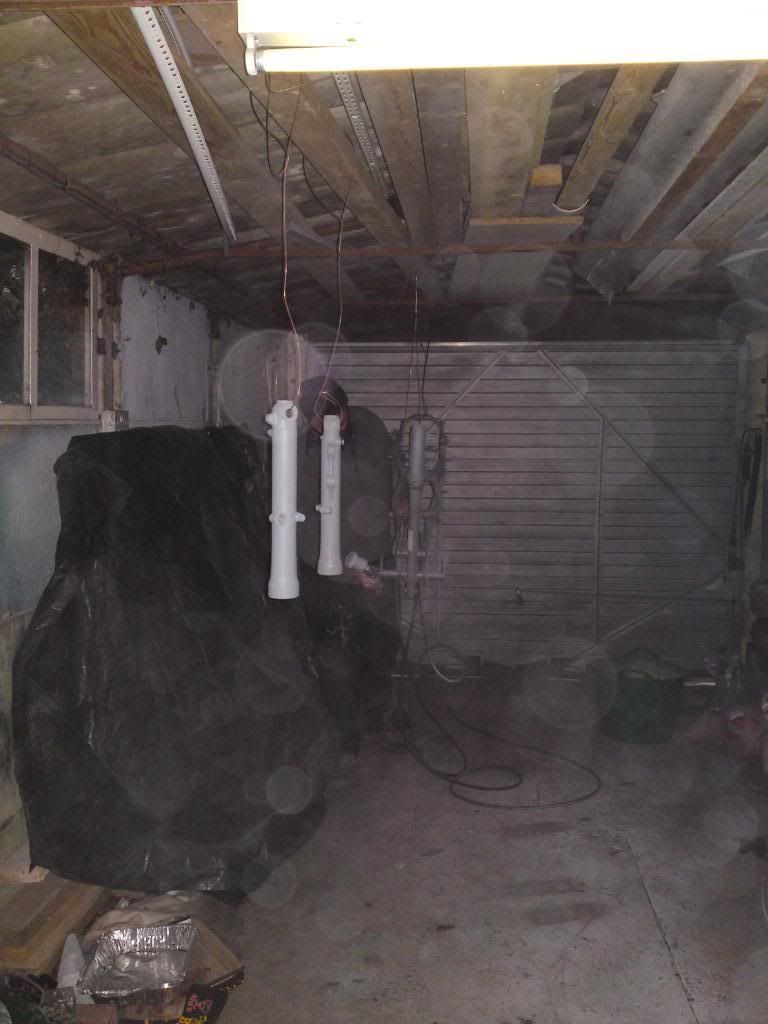
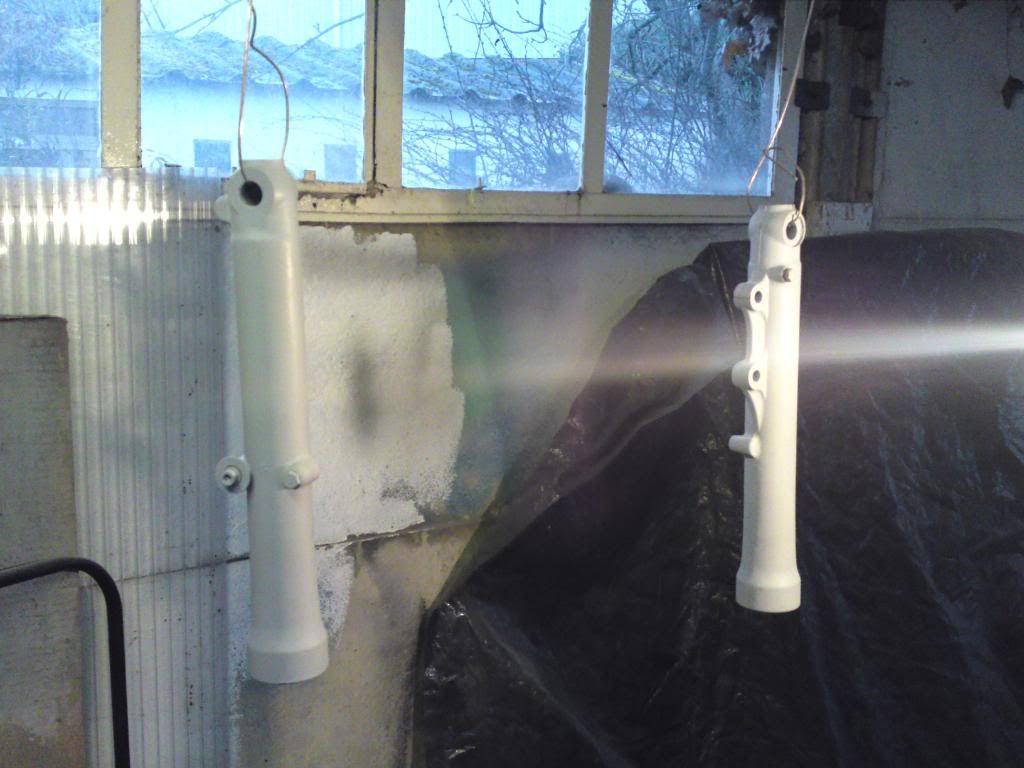
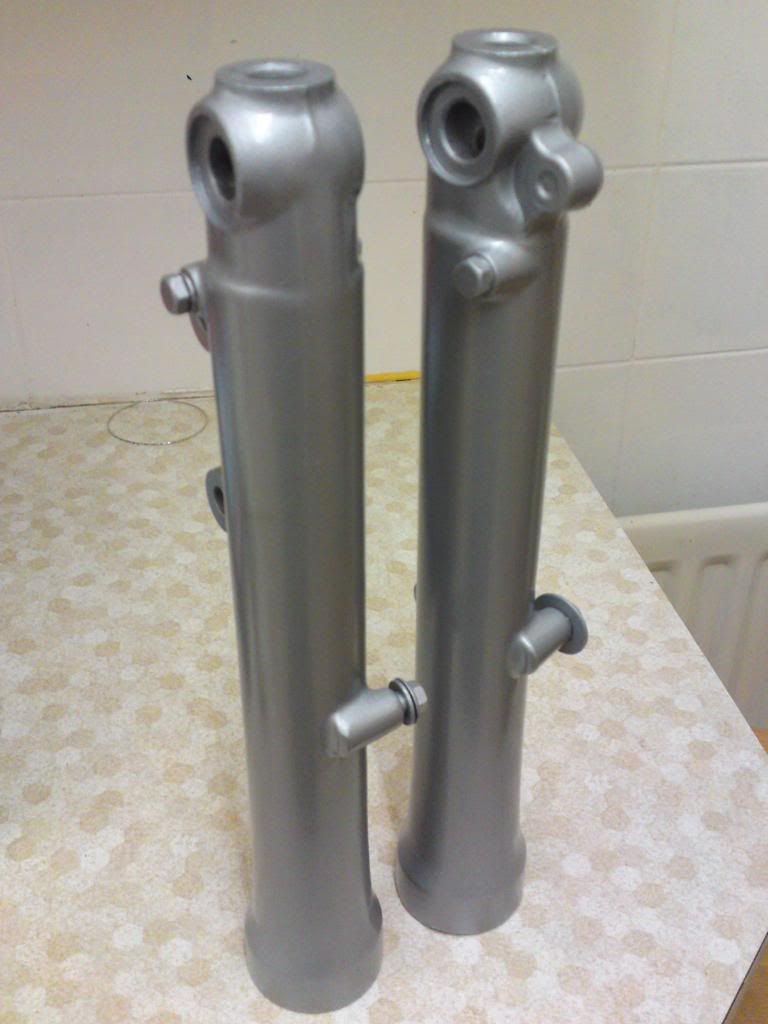
Shot blasted, base coated and then sprayed with a hard wearing silver paint and finally clear coated.

Swinging Arm, rear shock and rear shock linkage
Both of these have been shot blasted, base coated and then sprayed with a hard wearing silver paint and then clear coated.

Torque bar
Shot blasted, base coated and then sprayed matt black.
Top and bottom yoke + headlight bracket
Shot blasted and then spayed with hammerite black smooth. These were painted with this paint instead of the satin black used elsewhere because of their exposure at the front of the bike. All stones and weather will hit these first.
Horn
I've covered this in a previous post
Brake calliper
Cleaned up and then painted with black gloss calliper paint. I'll post an article on the brake calliper at some point because it required a little work to get it back to working order.

Fuel tank
It took Andy around 6 hours to get all the green, purple (!) and silver (possibly the original colour?) paint off the tank. Whatever they painted this Superdream with was certainly tough stuff. It's now been primed and finished off with some very lovely bright red paint, and it looks fantastic!

Stuff left to paint / apply:
Side panels & Rear cowling
These still need to be cleaned up, but seeing as they are plastic they should clean up a bit easier than the tank (hopefully).
Get some replacement decals for the tanks and panels
Decals have been ordered, they won't be applied until the whole bike is back together just in case they get damaged in some way.