
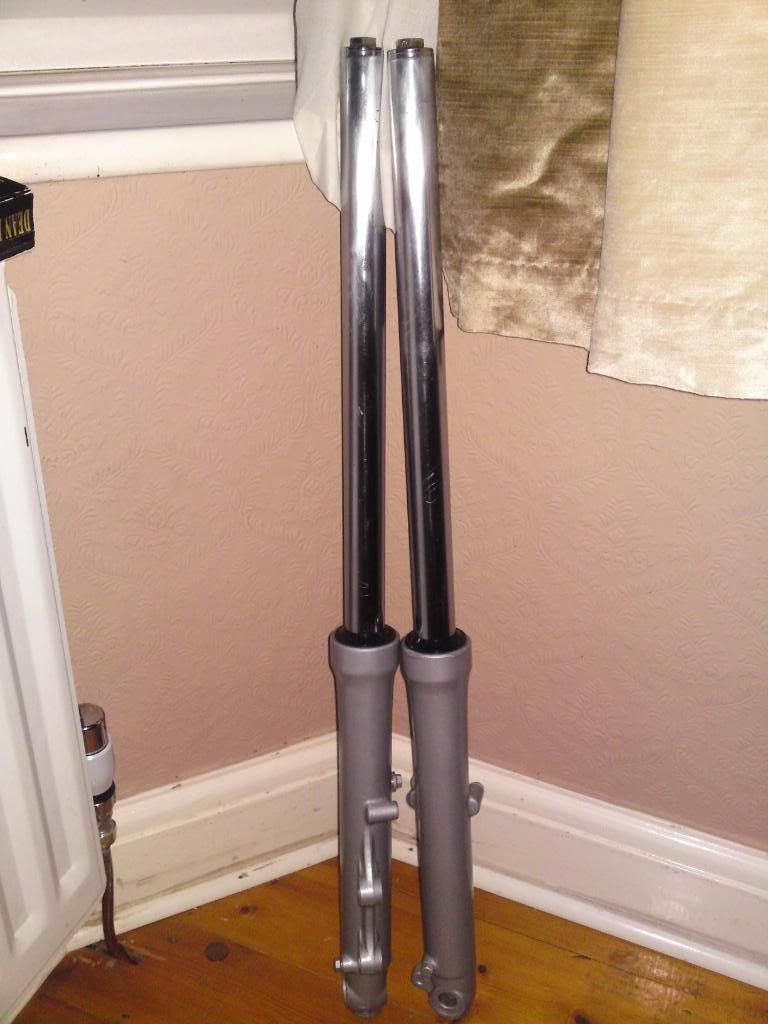
First thing I did was to clean the fork legs out thoroughly to make sure there wasn't any sand, dirt or even paint left inside them. Last thing I wanted was to go through all this and then damage the forks by not cleaning them properly.
 Once they were clean I put some oil on the fork oil seal and took a 32mm socket and used it to 'drift' it into place. You just have to push it down far enough so that the groove in the top of the fork leg is visible. That groove is where a retaining clip fits so it's important to have it exposed the whole way around the leg.
 I then fitted the retaining clip and packed the top end of the fork with grease and put the dust seals on.
The stanchion itself needed to be rebuilt. So I refitted the damper rod along with the rebound damper spring and made sure it was sticking out the bottom of the stanchion. I put it back into the fork leg, trying my best not to unsettle the oil seals and once it was all the way in refitted the bolt at the bottom of the fork leg. Refitting the bolt was much easier than removing it!
Right, the forks are now one piece again so its time to put some oil into them. Most bikes have a prescribed oil weight and quantity but due to the light weight nature of the CB125 you use automatic transmission fluid. Each fork leg takes 128mm of fluid so I borrowed the measuring jug from the kitchen (don't tell) and measured it out:
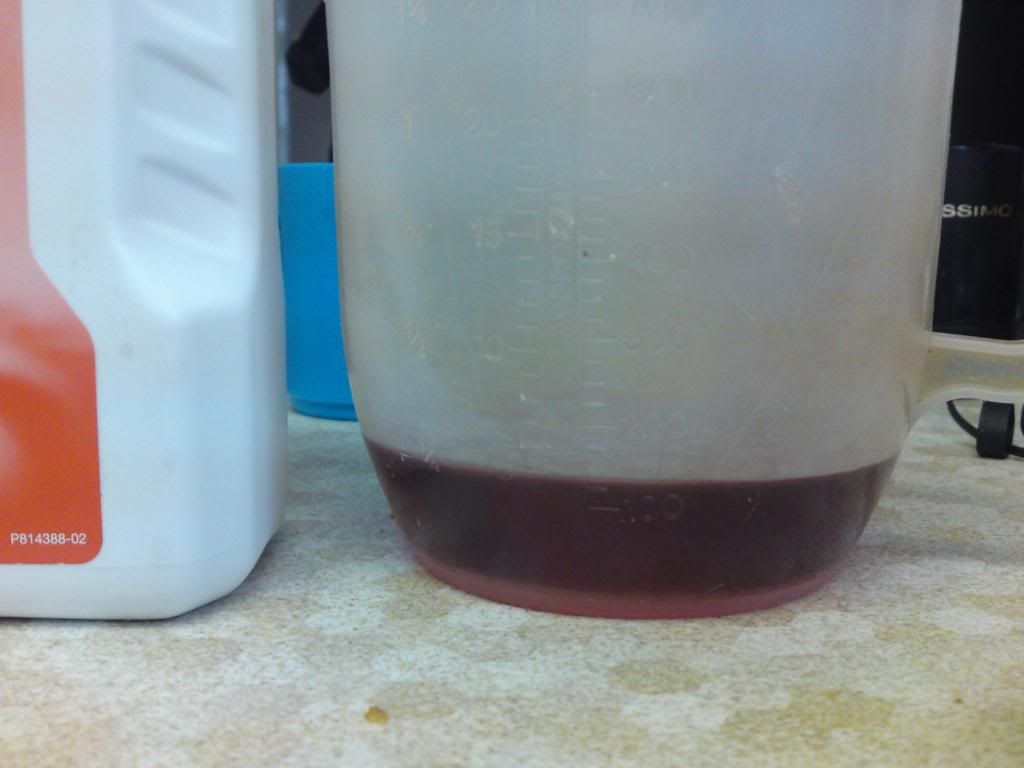
The only things left to do now was pour it in, fit the main spring and put the caps back on the top.
Easy eh!
This comment has been removed by the author.
ReplyDelete