
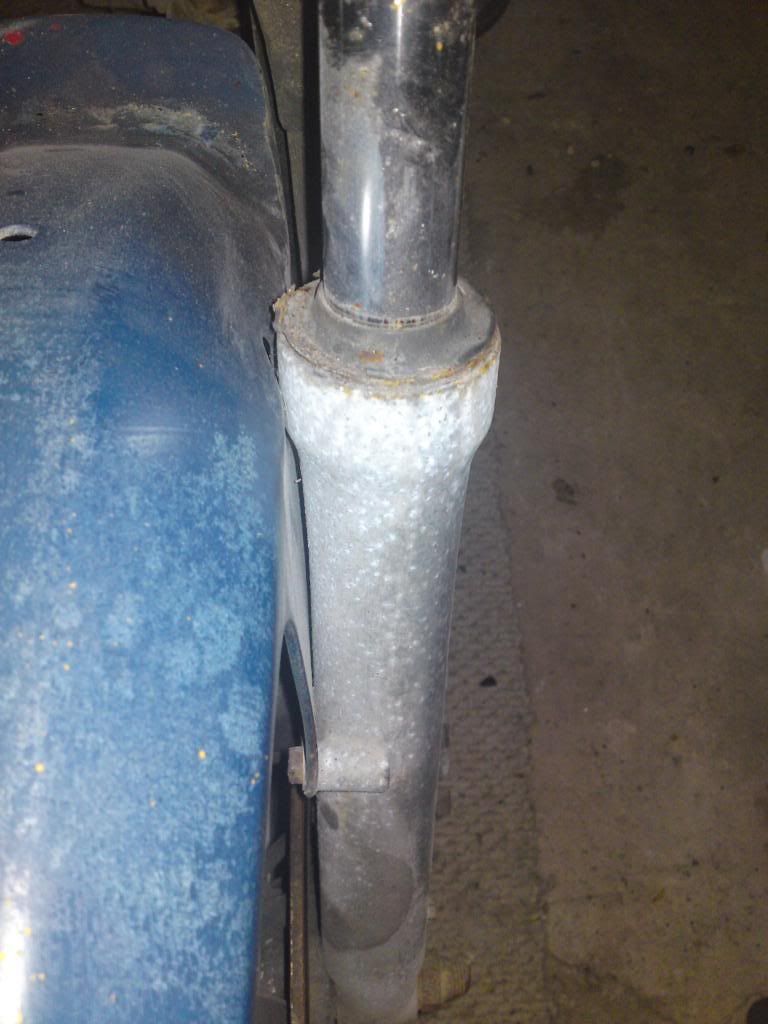
First things first, stripping them down.
I've since learned that the first thing to do when attempting something like this is to crack the fork top nut before you remove them from the bike. The top and bottom yokes do a fine job of holding the fork stanchion in place without marking them. Like I said, I have since learned this and I held them in place like this instead
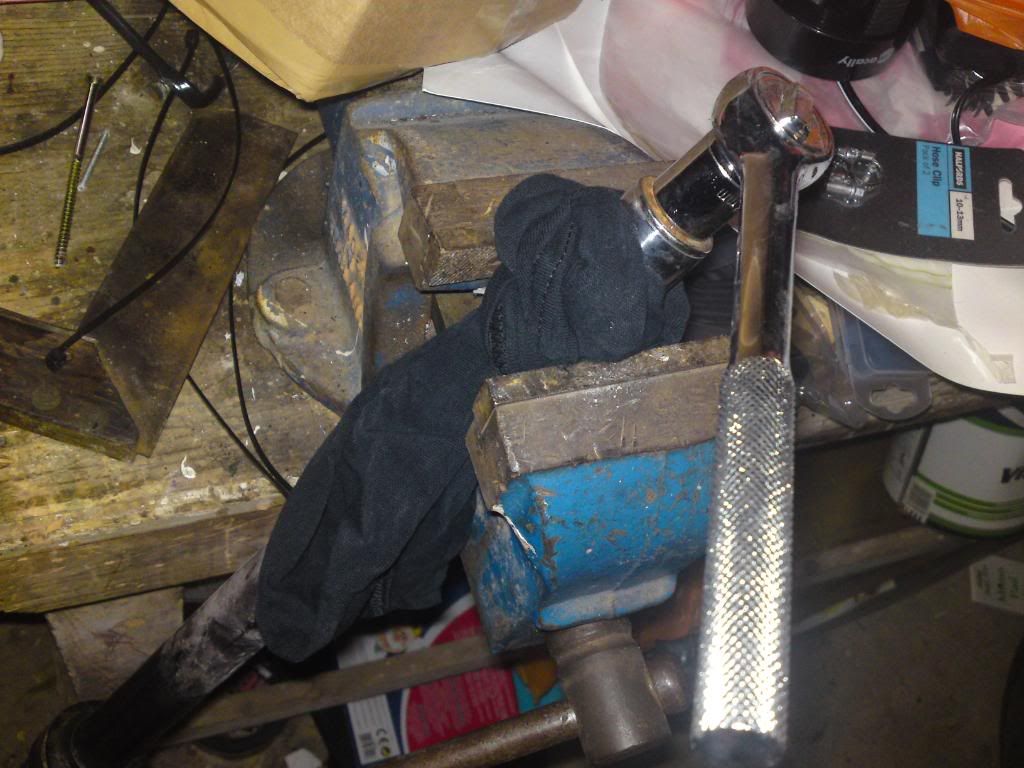
That's the fork wrapped with some cloth to protect it whilst it's held in place very lightly with a vice. I wouldn't recommend this and I've since bought a strap wrench so that if the yokes can't hold them in place the wrench can ... and it won't mark the surface.
Once the top bolt was undone a half turn I turned my attention to the bottom end of the forks. Inside the stanchion is a damper rod which is attached to the bottom of the fork leg. The stanchion is allowed to move along the length of the damper rod and it only held inside the fork leg by the end of the rod not fitting through the bottom of the stanchion (which tapers inwards).
So, to remove the stanchion you have to remove the damper rod. To remove that there's a 6mm hex bolt in the bottom of the fork that you need to undo. Trouble is, as soon as you start undoing it the fork damper starts turning with it. So you have to push something down into the fork stanchion to hold the top of the damper in place. The head of damper rod on the CB125 TD has no markings or grooves, it is perfectly symmetrical but it does taper internally so that the internal diameter gets smaller. This allows you to push a tapered wooden dowel (or equiv) inside and that holds it enough to turn the bolt out. Alternatively, you can try to use wizzy gun (compressed air wrench) which due to its high impact turns the bolt before the rod has chance to react. In fact, we had to do this with the 2nd fork (glad Andy bought that compressor!).
Here's the damper rod and fork leg once I'd undone the bolt and removed the stanchion from the leg.
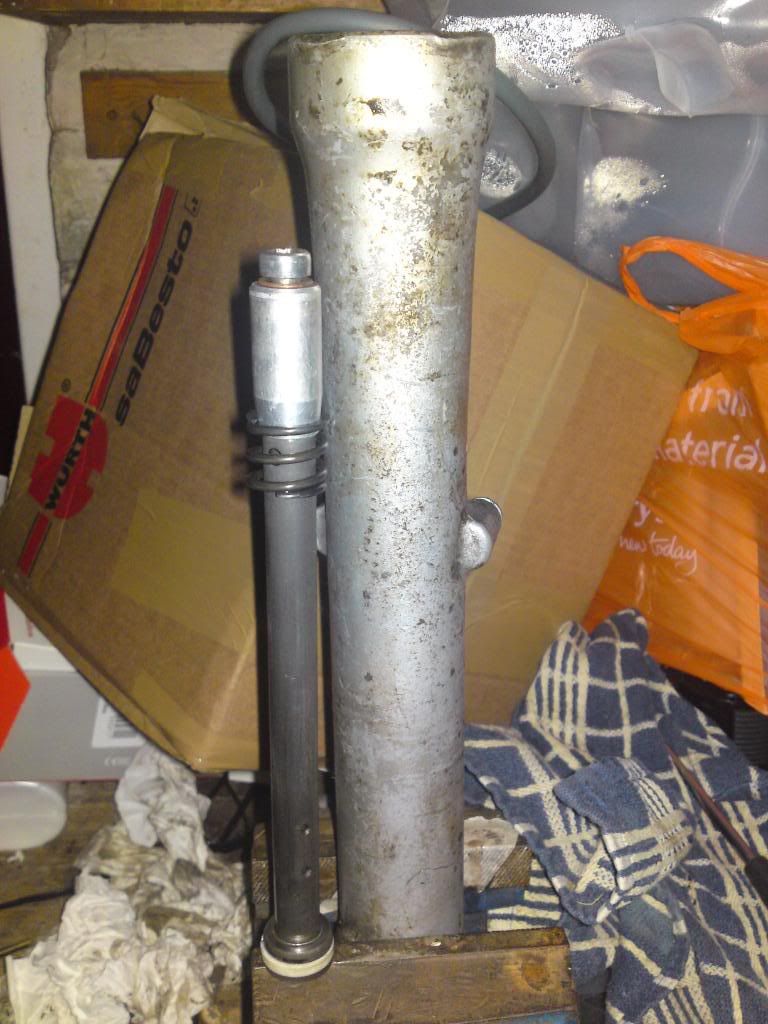
Remember, the small rod was inside the stanchion and in the picture above is actually upside down. The 6mm hex bolt is shown re-attached to the damper rod in this picture. To remove the rod from the stanchion I had to fully undo the top nut on the stanchion, remove the spring and then let the rod fall out (along with lots of grubby oil).
The top nut isn't under a massive amount of pressure from the spring but be careful when undoing it. It caught me out first time and this was the result:
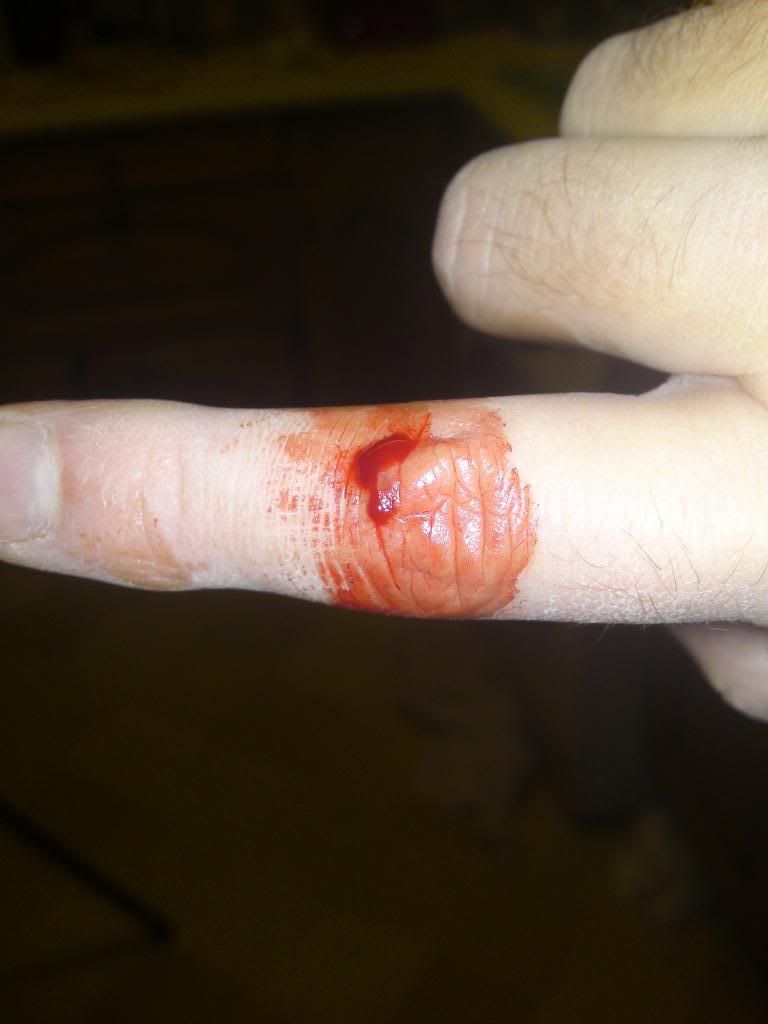
Ouch.
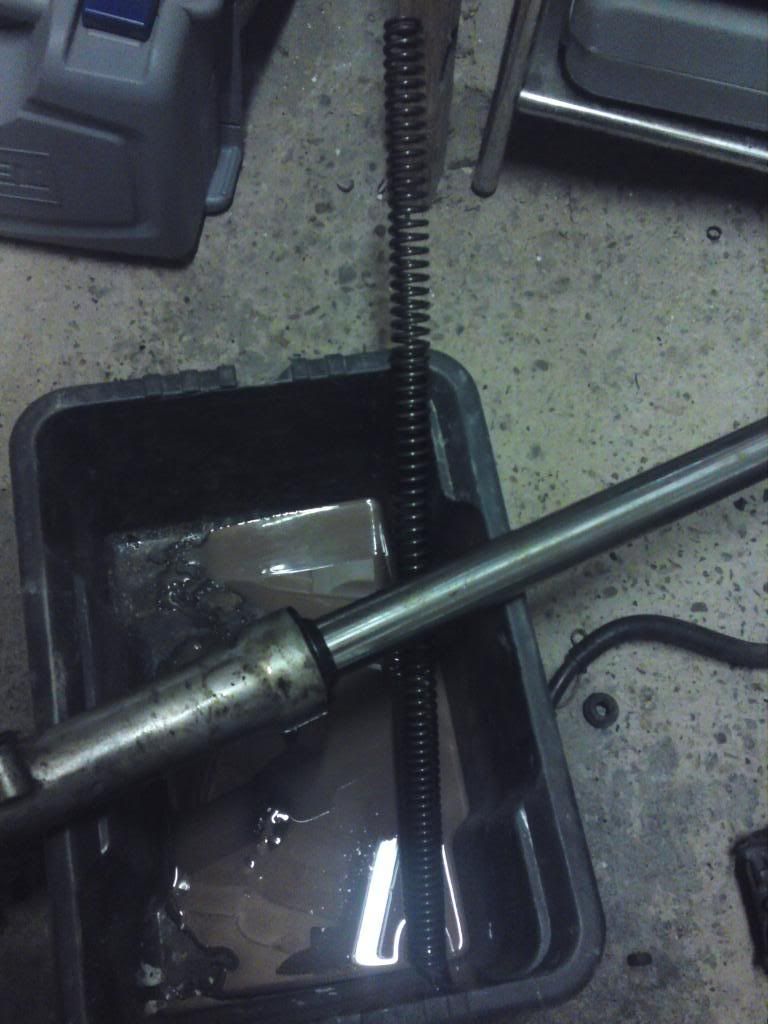
I completely drained the oil from the fork components and cleaned them up. You can see the internal spring and the state of the oil in this picture - it's a muddy water colour and doesn't look like oil to me
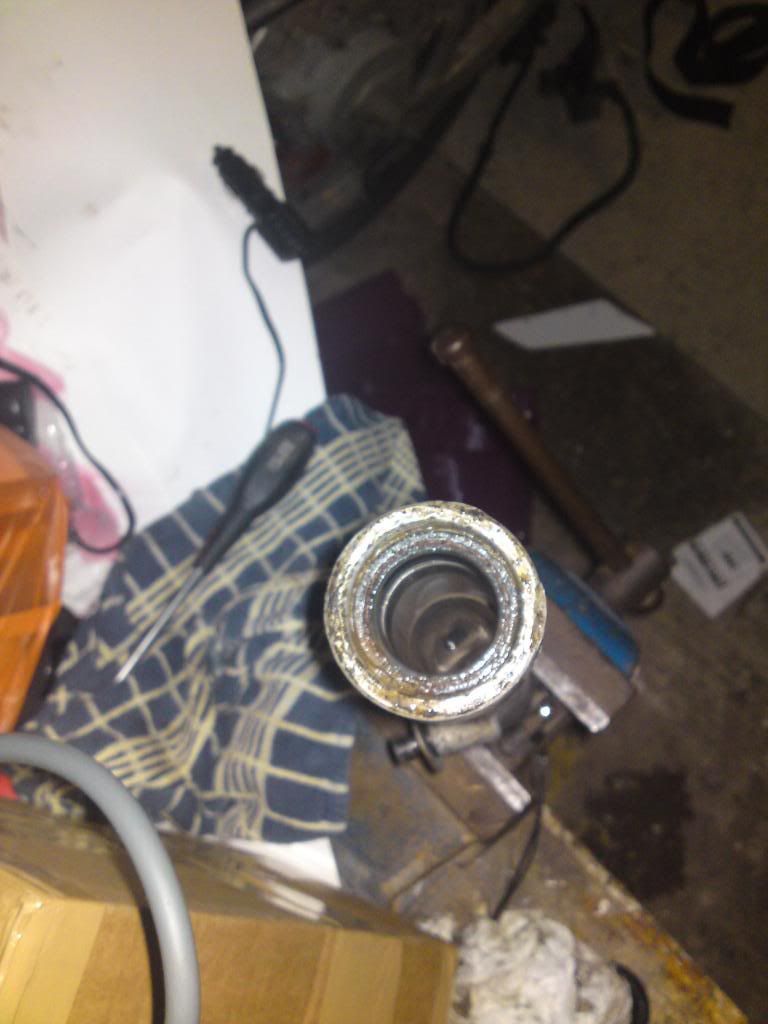
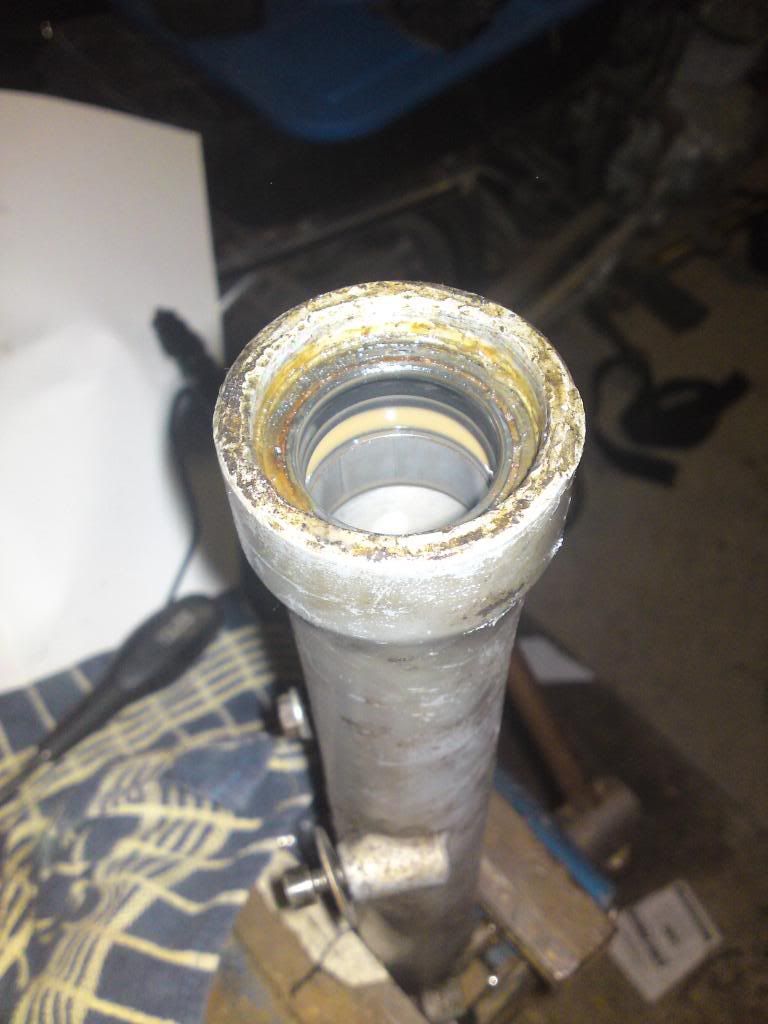
Just for reference, here's a couple of pics showing the internal view of the fork leg once the oil seals had been removed - next job is to prep them for paint..
No comments:
Post a Comment